En Provence Mystery Quilt

Monday, November 30, 2015

Allietare Mystery Part 1, Learning to Sew on my Treadle

Yes it is time for another Bonnie Hunter mystery!  You can link up with us on her site if you want to share!  http://quiltville.blogspot.com/2015/11/mystery-monday-link-up-allietare-part-1.html


I had every intention of doing Bonnie Hunter's mystery this year, what is there not to say to commend it?  It always challenges me, I learn a ton, and I love the camaraderie (even when I dislike the nitpicking and quilt police),...So with all that to commend the mystery why would I add one more layer?  Well, lets start at the beginning.  A couple years ago my husband and I bought an old Franklin Long Shuttle Sewing Machine.  It was love at first sight, however; I had no clue how to use it.  


I initially attempted and failed and then it sat and sat and sat.

This fall I decided to move it to the living room, knowing that if it was visible I would be more apt to open it up and attempt to do something on it.  To learn how to treadle.

This last Sunday, instead of working on clue one I opened up my treadle, oiled it's parts, watched YouTube after YouTube video to learn how to wind the bobbin, how to thread the machine..how to operate the treadle to make it move in the right direction.  I had to clean up some serious screw holes that were oh so gunky. I know it could use another serious clean like I've seen online but that will wait for another day.  

These are the colors I am using from my stash... If I need to buy more I will.  I am not sure that my yellow works-that is definitely the one that I may go out and purchase more of.


At the end of the day I cut a few triangles with my Easy Angle and gave it a go and I LOVE IT!  I have decided that this mystery is going to be my quilt to learn to use the treadle, I hope to even quilt it on it- we will see how that goes.  By the end I hope to be proficient.


And look at this handy dandy seam guide!


This is AWESOME!  My seems have never been so accurate...holy cow.

Alright then,  time for me to try to get caught up...7 down and a whole lot more to go.

Monday, November 23, 2015

Scrappy Christmas Quilt

I was going through my Christmas fabric and noticed I had some seriously 'ugly' fabric that goes back in time,,,,a long time. I'm not sure if it was my Grandmothers or someone else gifted it but I was challenged to do something with it.  Initially....I hated everything about it.... but as it has come together, through ripped stitches and all, I have decided I really like it..  I like that, (I think), it comes from Grandmas stash, which always makes me a bit nostalgic.  I like that I didn't use a pattern.  I also like that there is not much of the green left! 


I had to throw this picture in of Pepper, our princess of a cat.  She was not impressed when I was attempting to quilt 'her' bed.


Front


Back of quilt


Holly Quilting
and Swirls


Monday, October 26, 2015

A Little Zen, Curved Piecing, and a String Quilt too

The Ebb and Flow of Life

Isn’t it funny how just when you think you got it figured out life changes again and you are left reevaluating your choices, desires, and potential outcomes?

I ended the summer ready to sell, however; I had no time to produce anything so I started furiously sewing in September....At about the same time I got a job as a waitress...Just part time, just for the fun of it...The opportunity presented itself and I said sure why not...Since then I have found I am putting a lot of time in making quilts with the intention of selling them.. Initially I mulled over what others would like, what was marketable, what was good enough.  I’m here to tell you it took all the fun out of quilting for me.

Then I realized I have to just stay true to me and the rest will follow.  So I tried that and found that being true to myself is truly the key except, I'm still not sure this is what I want to do.  I think the biggest reason I am keeping Etsy is because it was a lot of work to put up and I hate to pull it down.  Hm... That leaves me with options.  Do I simply leave it up, put up items I want and just don’t worry about it?  Or do I tear it down, and just sell at craft fairs if I should so desire?

In the end I wrote myself a mission statement, a little hokey, but it allowed me to determine what I needed my goal to be concerning quilting, a craft I love but which was becoming a little less enjoyable when my intention was to sell on Etsy and be worthy of selling on Etsy.

Sara’s Mission Statement

Make what I want, learn as I go, be free to fly-results good or bad-no quota to strive.
Keep what I want, give away what I want
sell what I want,
as I want to.
Love my craft-always stay true to me.

This I hung in my sewing room as a reminder to me that this is my creative space with no limits or expectations.

So do I sell or not?  I’m not sure.  For the time being I will leave my Etsy store in place.  I will pray to God about it, (though it’s not really a stressful situation and more a questioning moment in my life), and discuss it with my husband.

In the meantime we had Quilt Sew-In with the Boulder River Quilt Guild and lordy did I need it.

I love the ladies in our Quilt Guild and highly recommend the opportunity to meet with others that will inspire you, lift you up, and totally encourage you in every way.  In the last month I started a Zendoodle small wall-hanging that utilizes thread and markers to design.  


This was fun!  After getting home I wanted to see if I could just use thread to paint the fabric and make my design simply because I wanted to see if I could.

This was the result:


All in all, for me, Zen is very liberating.

Now a little curved piecing.

 After my liberating Zen experience I must have been feeling ready to tackle anything.  I did something I have always wanted to do, curved piecing without templates.  This was fun!!!! I only wish I had more fabric to make an actual table runner.  Instead I think it is a wall hanging?   Totally see the potential for an artistic wall hanging using this method.


String Quilt

I delved into my pastels again for this one.  After I had each string block done I wanted to organize it in a different manner than I had before, so I cut, cut some more, and this is my end result.


The quilting was actually much simpler than I normally do.  I wanted to incorporate straight line quilting with flowers.  By quilting much lighter than normal it is a fluffier quilt than I am used to.  I used a simple Moda Gray for the backing.


Thank you for looking!

Monday, September 21, 2015

Holiday Table Decorations

All last week I prepared for a community wide sale to raise money for the local
Community Hall.  I had three table toppers I wanted to finish and some mug rugs so that I had some small items to include.  

My first table runner utilized a combination of holiday prints and others for good measure.  No pattern was utilized, I just threw strips together in an orderly fashion.  You could use any size strips and it would be pretty, especially using holiday fabric.
I quilted it with feathers and swirls.


My other two table runners used some more holiday fabric and are a bit simpler than my first. 


The mug rugs were so much fun, I quilted them with a feather motif and straight lines.


I opted to rent a table to show my quilts and thought I would bring my business card.  My town is small-meaning-really small.  I believe somewhere in the area of 250 so I truly was not expecting to sell anything but I did think it would get my feet wet so to speak on putting my items out to be seen.  It ended up being a very positive experience.  I didn't sell anything, but I had the opportunity to meet different individuals in the community and discuss one of my loves, quilting.


I definitely need to work on my presenting skills.  Maybe purchase some hanging bars for hanging my quilts.  All in all a fun experience that I learned a lot from.


Tuesday, September 15, 2015

Scrappy Dresden Plate Quilt

Earlier in the year my local quilt guild brought in a teacher to teach Scrappy Dresden Plates...This class was an absolute blast!  It is such an awesome way to utilize scrap fabric in a fun way.  The possibilities are endless.  I used a black background and a lilac backing... Please consider making dresden plates if you want to use up your scraps in a way you didn't think possible!


A close up of one of the dresdens.


I quilted it on my dsm using a vine/leaf pattern throughout the black and then each dresden is quilted in a different manner


 I initially hand bound the back of the binding to the quilt but I just did not feel like it was sturdy enough..so I used the embroidery function on my Grandmothers Huskvarna to re-attach the borders to the back.


I have already washed it, hence; the crinkly look.


Have fun playing with scraps!
  

Wednesday, September 2, 2015

String Strip Quilt

Well, I'd love to be able to say I was incredibly productive over the summer.  I did oodles of work, achieved master worker status, but alas...I can't.   I only had one quilt finish to add to my score board this summer,  though; I did work on another that I will be showing soon.  I'd also like to add that  sometimes those periods of seeming inactivity actually allow the creative juices to flow. I learned how to apply a watermark to my photos, which I have heard is important.  I also think the inactivity allowed me to decide if I truly am ready to sell my quilts.  If I really want to give my Etsy store a go.  I know that the reason I haven't sold anthing is because I haven't been ready to sell anything.  Well I can honestly say I have worked through that block and I'm ready to give my store it's all. I've had to tell myself,  I am creative enough and talented enough to do so, and I believe I do have something to offer that others will desire.  To do that I have to give myself permission to stay in my sewing room all day, not do the dishes three times, not clean the house every day, treat it as the main priority when my family is not home.

 As the kids took off for their first day of school on Monday I cleaned...I cleaned the whole house, then delved into my sewing room and made it a sane, creative place to work.. and now I get to immerse myself with all these ideas that have been floating around in my brain with no place to land all summer.  I get to crank up the music and free motion to my hearts content...and though I miss my kiddos, I so enjoy my time to simply create...

The one quilt I did manage to complete is a strip string quilt.  I dug into my pastels strings, used phone book paper cut into 4 inch wide strips, and when all completed sewed them together....I decided for a minimalist look and just did white borders and added an aqua? (I think?) backing and binding.  As a first for me I hand sewed the binding to the back of the quilt.  I have always been adverse to doing this, however; I found it relaxing and I do like the finished product.  I opted for simple spiral quilting.


I also manged to finish a pair of fingerless mitts for my oldest girl... Not sure what yarn I used, I think Alpaca.


Monday, June 1, 2015

Paper pieced hexagons

Today I am traveling on a big charter bus, heading to Missoula Montana, on the end of the year field trip for my two youngest still in school.

  I am attempting to write this on my phone, for the first time ever, I might add. I won't guarantee it is proof read perfectly....but I just really wanted to share!

It seems I do a lot more hand work when I am traveling.  And today is no exception.  I started doing English paper piecing after seeing some amazing projects done by a wonderful relative.  As usual I am using up scraps and just winging it.  Meticulous, I am not, so the back is not pretty, but I am quite pleased with how the front looks

I'm hoping to get the last of my blocks sewn together in the next two days...

Thanks for looking!

Wednesday, May 13, 2015

Elmers Glue Quilt Basting Tutorial

A loooong time ago I became increasingly frustrated with all the ways that existed to baste my larger quilts.

I tried pin basting and oh my aching back, not to mention I always, without fail, would have a pucker on the back of my quilt when I had finished quilting.

I tried spray basting, certainly better than pin basting but still that dreaded pucker...and I would get a headache spraying those chemicals for a large quilt.

I am one of those people that loves quilting my own quilts on my domestic sewing machine...as we all know though, that requires a lot of moving and handling of the basted layers.  I twiddled my thumbs, obsessed, finally had a light bulb go off in my head....ELMERS Glue!  I knew you could use it for different aspects of quilting.. I had seen others on the Internet who used it for their binding, for making sure their points matched.  I always had Elmers Glue on hand, since I am a mother of four.

I researched and I found a blog that uses it, however; she chose to mix her glue with water or alcohol..I said to myself lets just try it as is.

There started my love affair with Elmers glue basting.  Now, this is not a perfect technique either... It has it's pro's and con's.  You have to wash your quilt when you are done, so if this is one that is a wall hanging and is too delicate to be washed, I would not recommend glue. A very important consideration is that it may not work with all fabrics, so make a test block if you are unsure!   It also does require some squeezing on your part.. Keeping the glue upside down in a cup helps and so does keeping the tip of the glue bottle unplugged with a needle.  I also wait to quilt my newly basted quilt, just to be sure it is totally dry.  I have had others tell me they had issue with not being able to get the glue everywhere it needs to be?    The last and probably most important con to this technique:  the glue itself!  If Elmers ever changes it's formulation I cannot guarantee this will work.  Wouldn't it be horrible to not be able to remove the glue?  With that consideration in mind I plan on making a small (12x12) glued sandwich, using the same fabric backing as my quilt, I will practice my quilting on that and then wash it before I start basting the whole quilt...just to be sure.

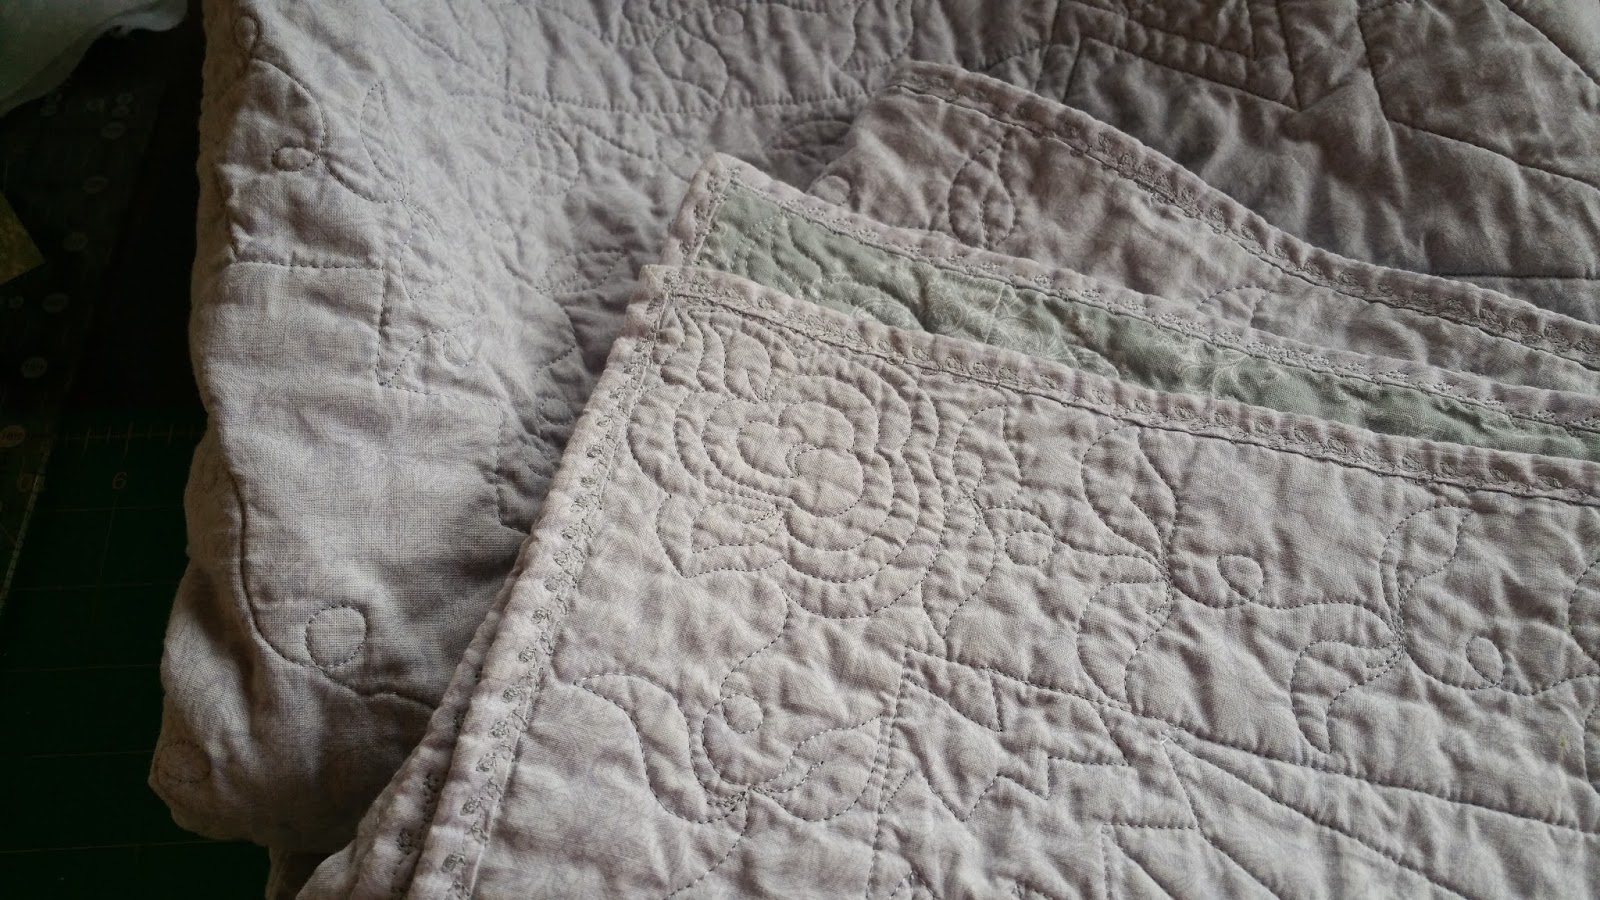
For positives, I have never, not once had a pucker since I used this method.  Not once have I not liked the results when I was done.  It takes me a fraction of the time and quilting through the layers has never been an issue for me.  It is also incredibly inexpensive.


Now theoretically I can see how it could be an issue for your machine if you over glue...not something I have ever encountered.  I am pretty sure I have used this method for at least 20 quilts, though I didn't keep count.

I think it's worth noting I usually use 80/20 batting or cotton batting but it should work with any washable, dry-able batting.  I am leery of 100% poly batting because if your iron touches it directly, it will melt, however; a friend of mine uses it frequently and loves this method with it..


1.  To start you have to have a table.  I do recommend the biggest you can find, however; I have done king size quilts on my table without issue, it just takes more maneuvering.


This table fits a baby quilt or small lap quilt
beautifully, anything bigger and I have to adapt.


2.  Get all your materials together:

Glue
tape/large clips/clamps
batting
scissors
pins (for marking middle, sides, etc.)
pressed quilt top and backing
Iron set on cotton setting or even lower if your iron is ultra hot!


I cannot stress enough how important it is to use ELMERS Washable, No Run, white, old fashioned School glue.  

I almost made the mistake of using the wrong kind of glue once and that would be a disaster.  Elmer's makes multiple different kinds, one in particular states it washes out when wet but is set when dry, now that would be bad!!!!


Once all materials are together and organized:


3.  I place my batting on the table, smooth out wrinkles and usually use clamps to secure it down.  This just helps me so that it is not moving while I am pressing.  In the past I have used tape and I know others that have large clamps that fit on the table.


4.  I put my top on the batting to be sure it fits and center it by eyeballing it.  If it is a large quilt, I will walk around and reach down and make sure that I have enough batting under my quilt top because it will be hanging off the table.


5.  I fold back half of the quilt top.


6.  And lightly glue a stream of glue on the part that is on the batting, on the table.  Perfection is not required at this point.  If you are over zealous with your squeezing than take the tip of the glue bottle and spread the glue around.  What you don't want is puddles, just thin streams.  Usually I use the rule of, how closely would I pin this if I was pin basting?,  to know how closely to apply my streams of glue.


7.  Important note:  I always heat my iron to cotton setting, however; if you have a super hot iron, turn it down... You are trying to dry the glue, not burn your quilt top or table top.  Also DO NOT USE STEAM! I would assume steam could hurt the finish on your table.  Use discretion here.

I fold the half I just glued back on the batting and press out all the wrinkles, making sure to not stretch out my quilt top (just like regular basting).  I then start pressing from the middle to the edge.  I do a nice slow, even pressure.  I've found I don't have to be real careful.  You do have to set all the glue you have put on your quilt top though.


*Sometimes this requires multiple iron passes on the fabric.


8.  Check the corners and sides after you have done this, if they wont pull up you can tell the glue is dry.


9.  Proceed to fold back the half not glued and not pressed.

 10.  Proceed to glue the folded over part as instructed before.
11.  Fold back glued area.  Use your hand to straighten the quilt top.  Press from the middle of the quilt out, being sure not to press in any wrinkles.  Make sure it is straight and true with the other half.
(note:  if you have a larger quilt top, your job is not done.  You would unclamp and move the remaining areas that have not been basted to the top of the table, I usually do a side and top and then the other side and top.  Working from the basted area out so that you don't box yourself in.  You do this until the whole quilt top is basted and wrinkle free.  This quilt obviously fits on my table so I took a picture of a different quilt top that is larger.  I pulled down and then folded back the portions that are not basted.  I would put glue on the folded over area and then press from the basted areas out to the edge.  When I had this section done I would move the whole quilt top and batting to get any other areas.
)


12.  At this point I will often mark the sides, the middle of the top.  I will often trim the backing so that it is just a couple of inches away from the top.  If  you have a pieced back this is critical if you want it to be centered.


 13.  At this point I unclamp the top and batting, flip it over, center it on the table, and reclamp it.

As you can see in the picture, I circled my pin (so you could see it), showing through from the front.  I use this as my reference as to the positioning of the top.


14.  I put my backing on top of the batting.


I smooth out any wrinkles and position the middle and corners where I want them.


15.  I proceed in the same exact method as I did for the quilt top.  I fold back half, glue, fold back, hand press down, then use the iron to press from the middle out.

I then do the other half.  (I did not include pictures since it is exactly the same as the top) see # 5 - #11.


 16.  Test your corners and sides as you go.
 17.  When it is done, flip it over, you should not be able to move/pull any of the fabric. This whole process (including photographing), took about an hour.
I usually wait one day to quilt, just because I am paranoid.  This way I ensure that there are absolutely no tacky areas.  It sits next to my machine, patiently waiting.


With this method you should have absolutely no issues with your quilt sandwich shifting or with puckers on the back.   The only way you will have puckers if you put them in while pressing.


Note:  I have had multiple people express concern that their table would not be able to handle the heat of the iron.  If you are concerned and do not want to try this method on your expensive table I have two suggestions.  1.  If you have room, buy a cheap second hand square/rectangle table to do this on or 2.  Don't do it.  I personally can not be held responsible for all the variables that exist regarding this or any method.  I can only report what works for me.  It's up to you to decide if you want to try this.  If you do try this I would suggest starting with a small item to practice with, then decide if you like it or not.  My sincere desire is that is makes your quilting life easier not that it cause additional stress.

Happy Quilting!